
How to Take Great Photos in Harsh Sun (Without Squinting)
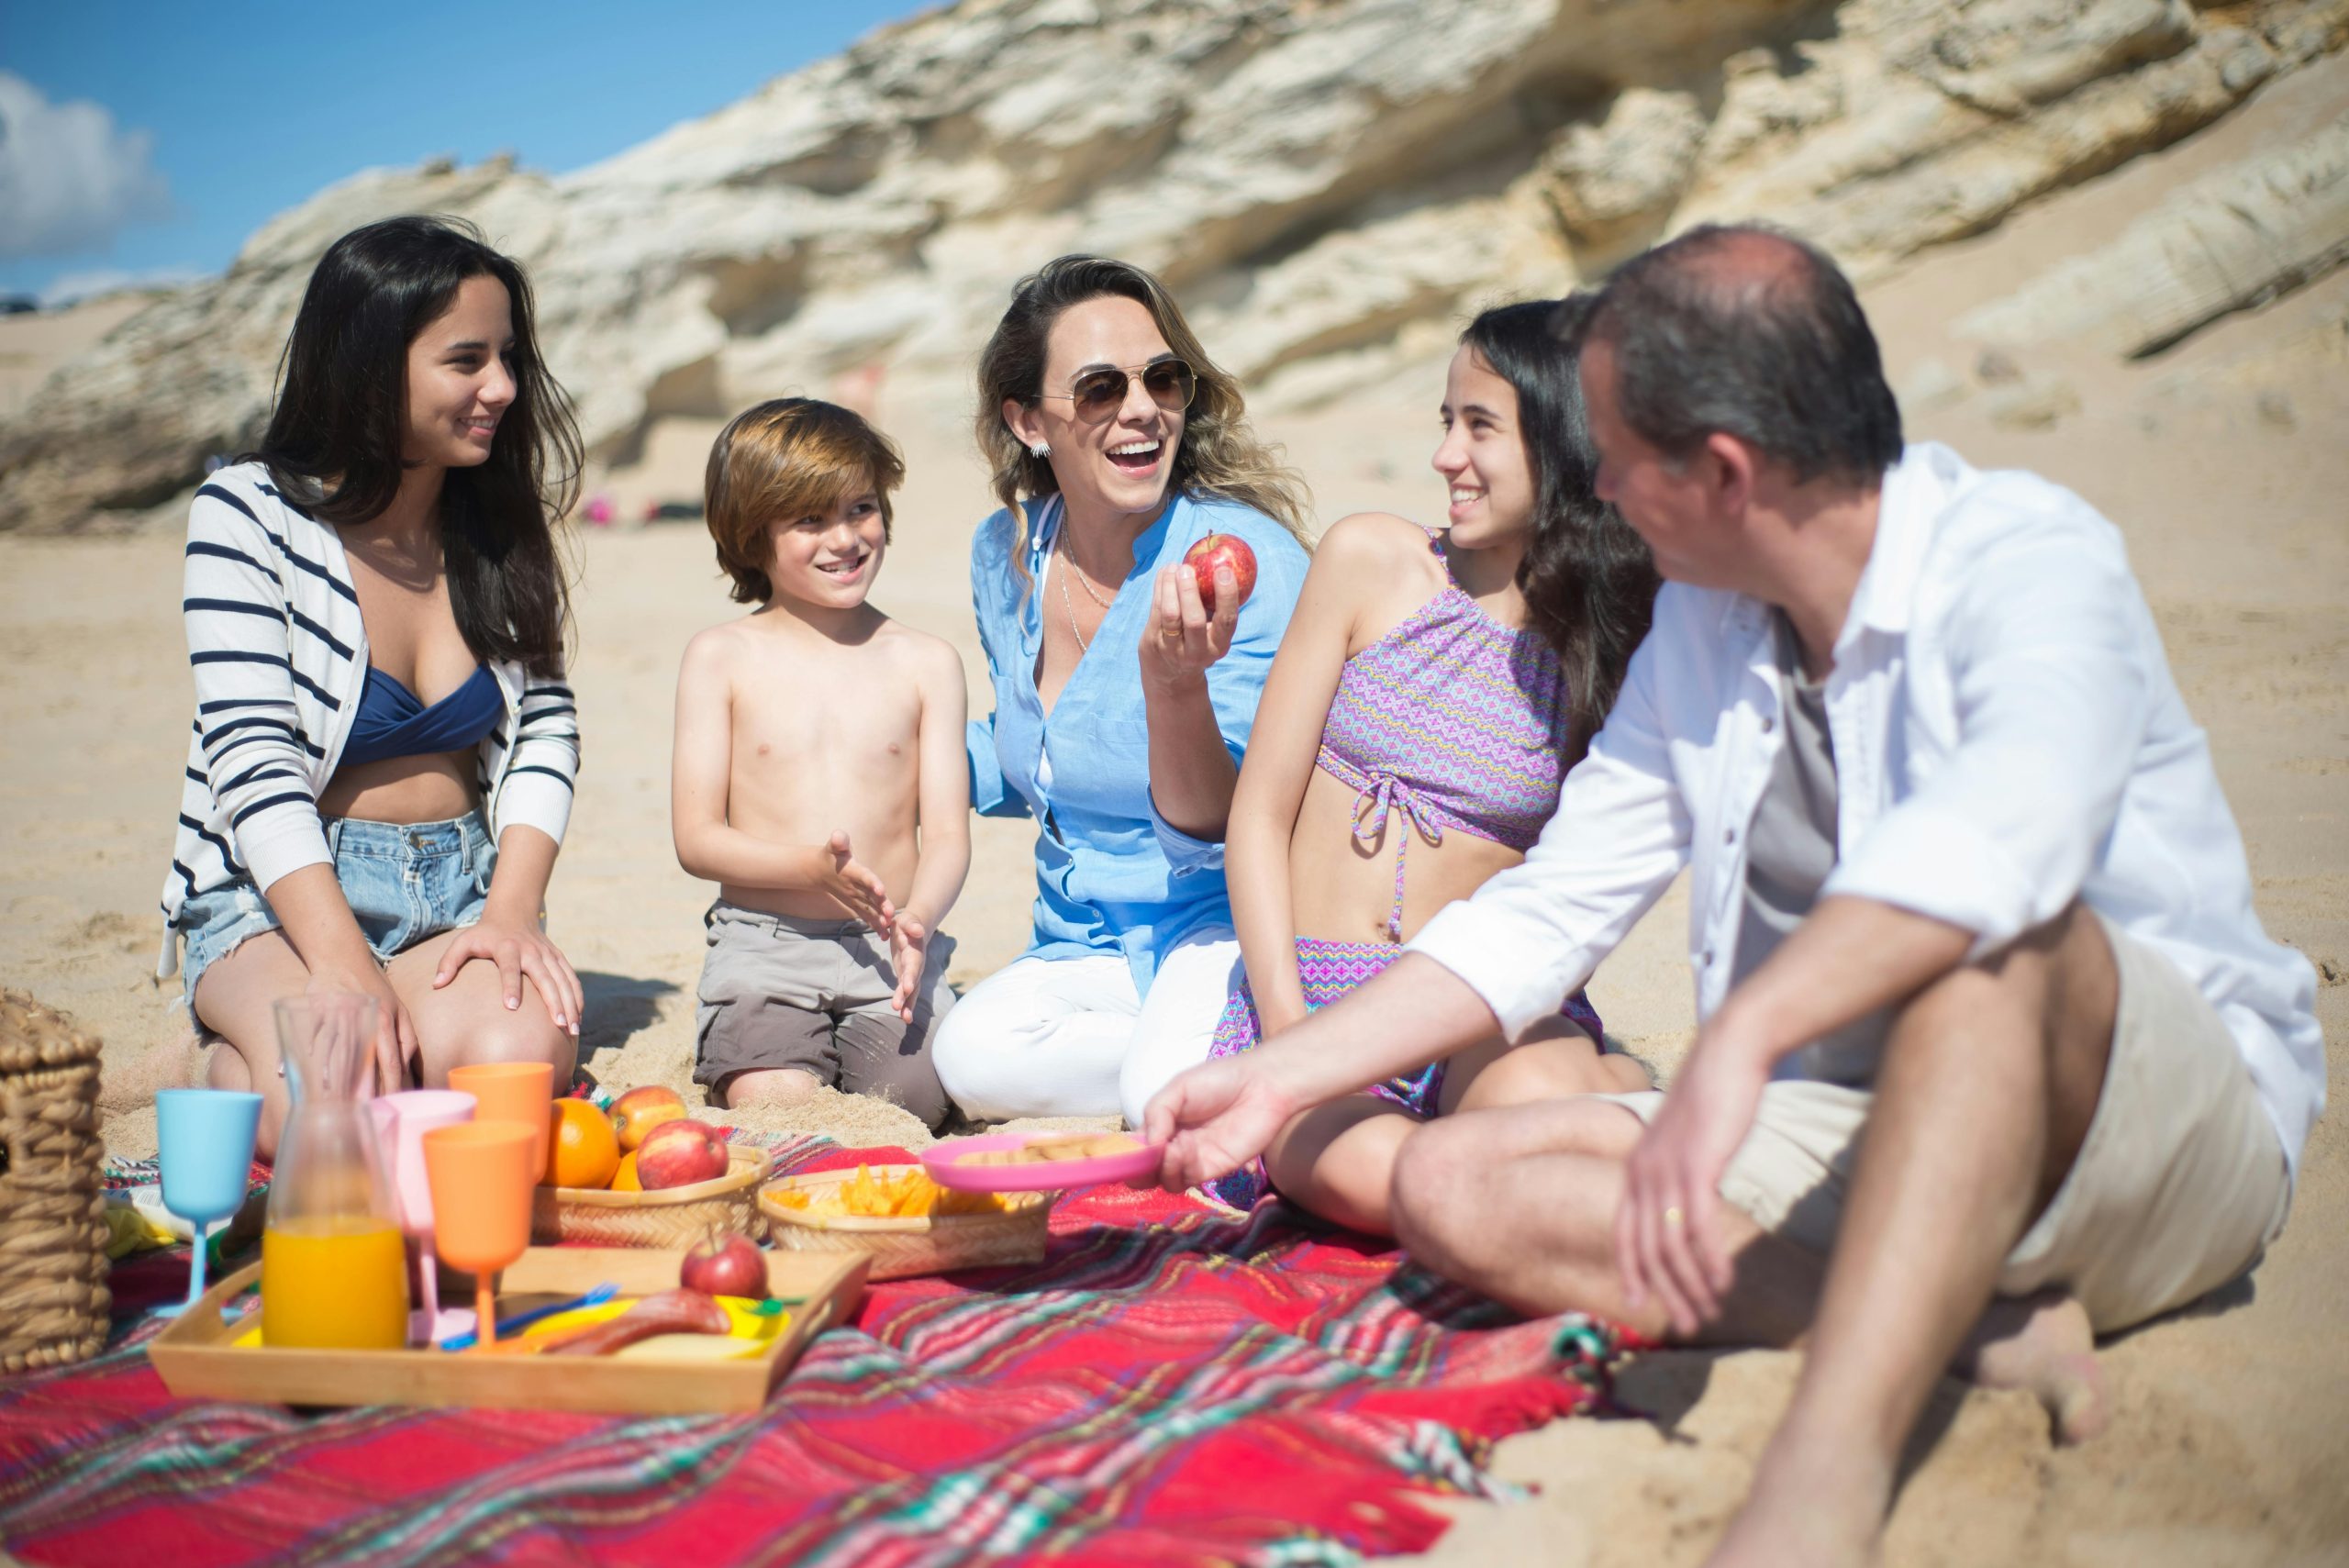
The sun is blazing. It’s noon. Your subject is squinting as they stare at a flashlight for too long. Every photo looks washed out or full of dark, ugly shadows. Sound familiar?
Harsh sunlight trips up even the best photographers. It shows up when you least want it and makes everything look rough. But you can still walk away with great shots. You just need a few simple tricks in your back pocket. Let’s get into it.
Switch to Manual Mode
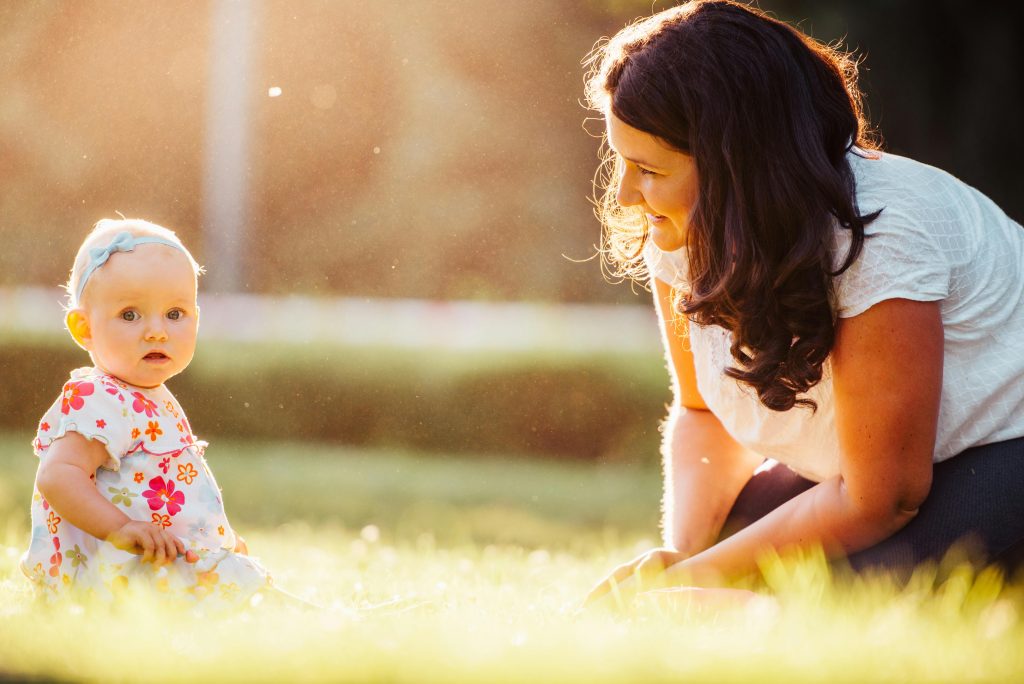
Even the smartest cameras need a little help when they come up against a blaring sun. An overexposed image, not surprisingly, ends up looking all very dark and muddy.
When you’re in manual, you are the master. For a bright setting, something like f/1.8 or f/2 will do the trick. This will create a background blur.
In high sunlight, you will also most certainly want to keep your ISO to the lowest setting (in this case,100). A shutter speed adjustment will give you that nice glowy skin everyone aims for.
Some pros even recommend exposure settings just over the meters. It gives the skin a glow, and people love it.
Always Shoot in RAW
Always shoot in RAW. It holds way more detail than JPEG. If the shot comes out a bit too dark or too bright, RAW gives you room to fix it in editing. JPEG doesn’t forgive mistakes the same way. The harsh sun is tough. RAW is your safety net. It’s one of the smartest habits you can build.
Put the Sun Behind Your Subject
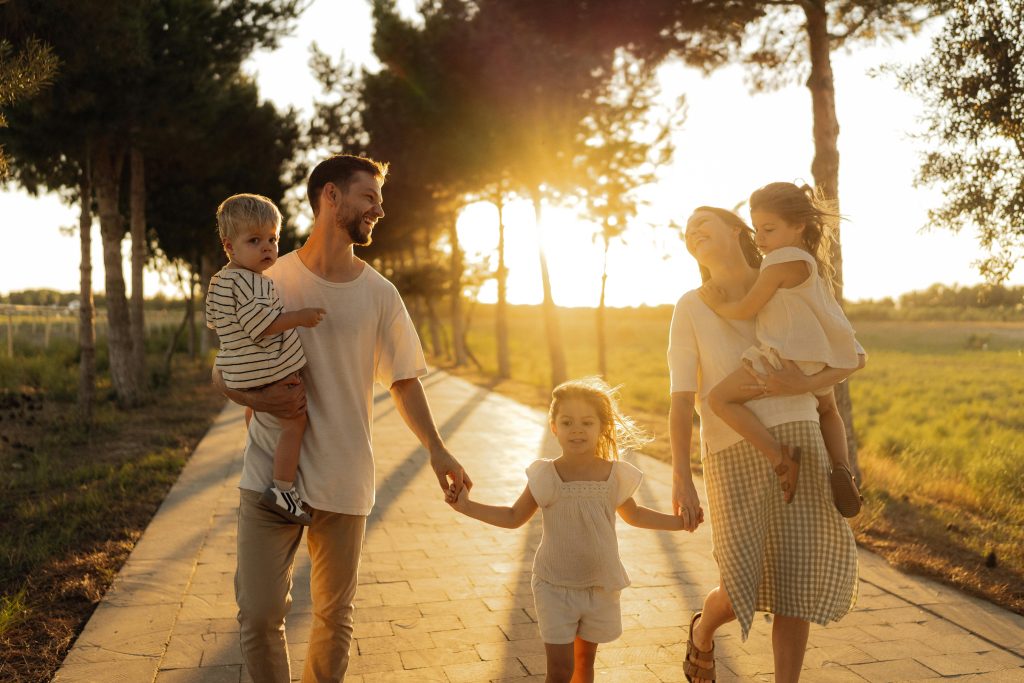
The sun backlighting your subject makes their face even softer and more shadowed. The light also leaves a nice glow around the edges of their face and their hair. There are no unsightly shadows, and there is no squinting.
Keep the amount of open sky in your frame to a small amount. It will affect the exposure. Move in, or find the right angle to keep the sky from dominating your shot.
Find Shade and Use It
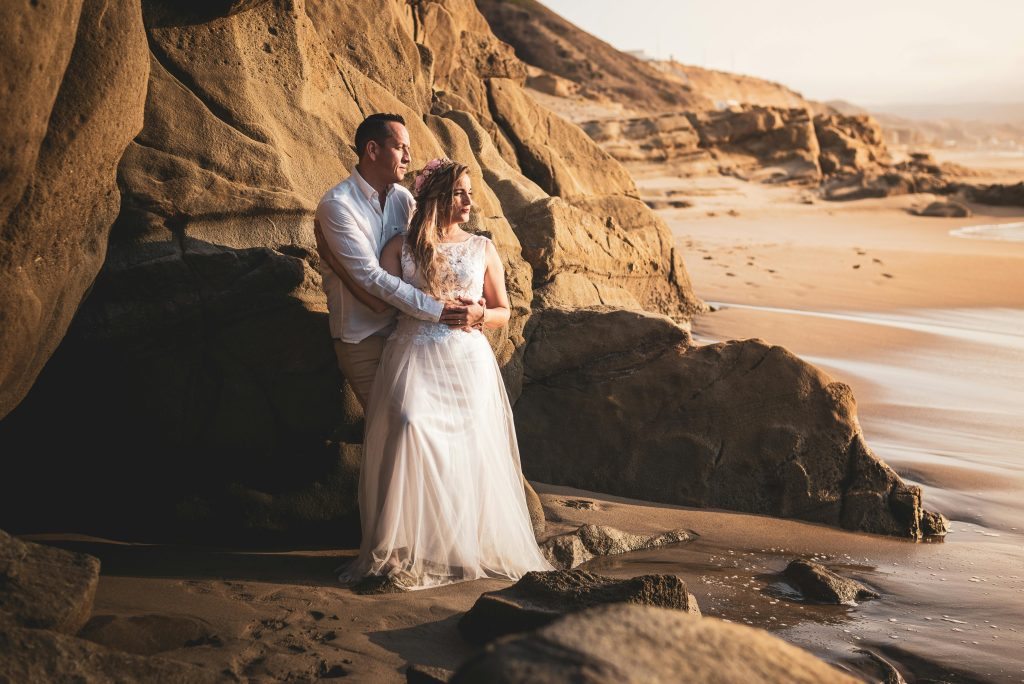
Sometimes the easiest fix is just finding shade. Trees, buildings, doorways. They all block direct sun and give you soft, even light.
Doorways work really well. Light falls softly, and skin looks great. If there’s no shade around, use your subjects to shade each other. Have one person lean in close so their head blocks the sun from the other’s face. It looks sweet and natural. Works like a charm every time.
Match Your Subject to the Background
This is one of the trickier parts of photographing in harsh sun. When your subject is in the shade, but the background is in full sun, the photo looks weird and uneven.
Try to find a spot where both your subject and background share similar light. A shaded wall behind them works great. Or face them toward the open sky so both the face and background get even light—no more strange contrast between the two.
Get Creative with Shadows
Once you stop fighting the harsh sun and start playing with it, things get fun. Use the hard shadow lines in your frame. Let light streak across a wall behind them. Shoot toward the sun and grab some lens flare. These add drama and mood that soft golden-hour light can’t.
Just make sure the shadows work for the photo. Don’t let them fall awkwardly across a face.
Go Inside
No shade outside? Go in. Big windows during midday let in loads of bright, strong light. Place your subject near the window. The light comes in hard but bounces off the walls and softens up. Harsh sun from outside becomes great window light inside.
Keep a Calm Head
The sun is going to be harsh. Getting stressed on set makes your subject tense. That means stiff photos. Calmness is key. Light energy is essential, and keep testing. If you’re having fun, your subject will be relaxed, and it will show up in the photos.
The hardest moments often result in the best shots. That includes the harsh sun.
Maternity Photos: When to Schedule + Outfit Ideas
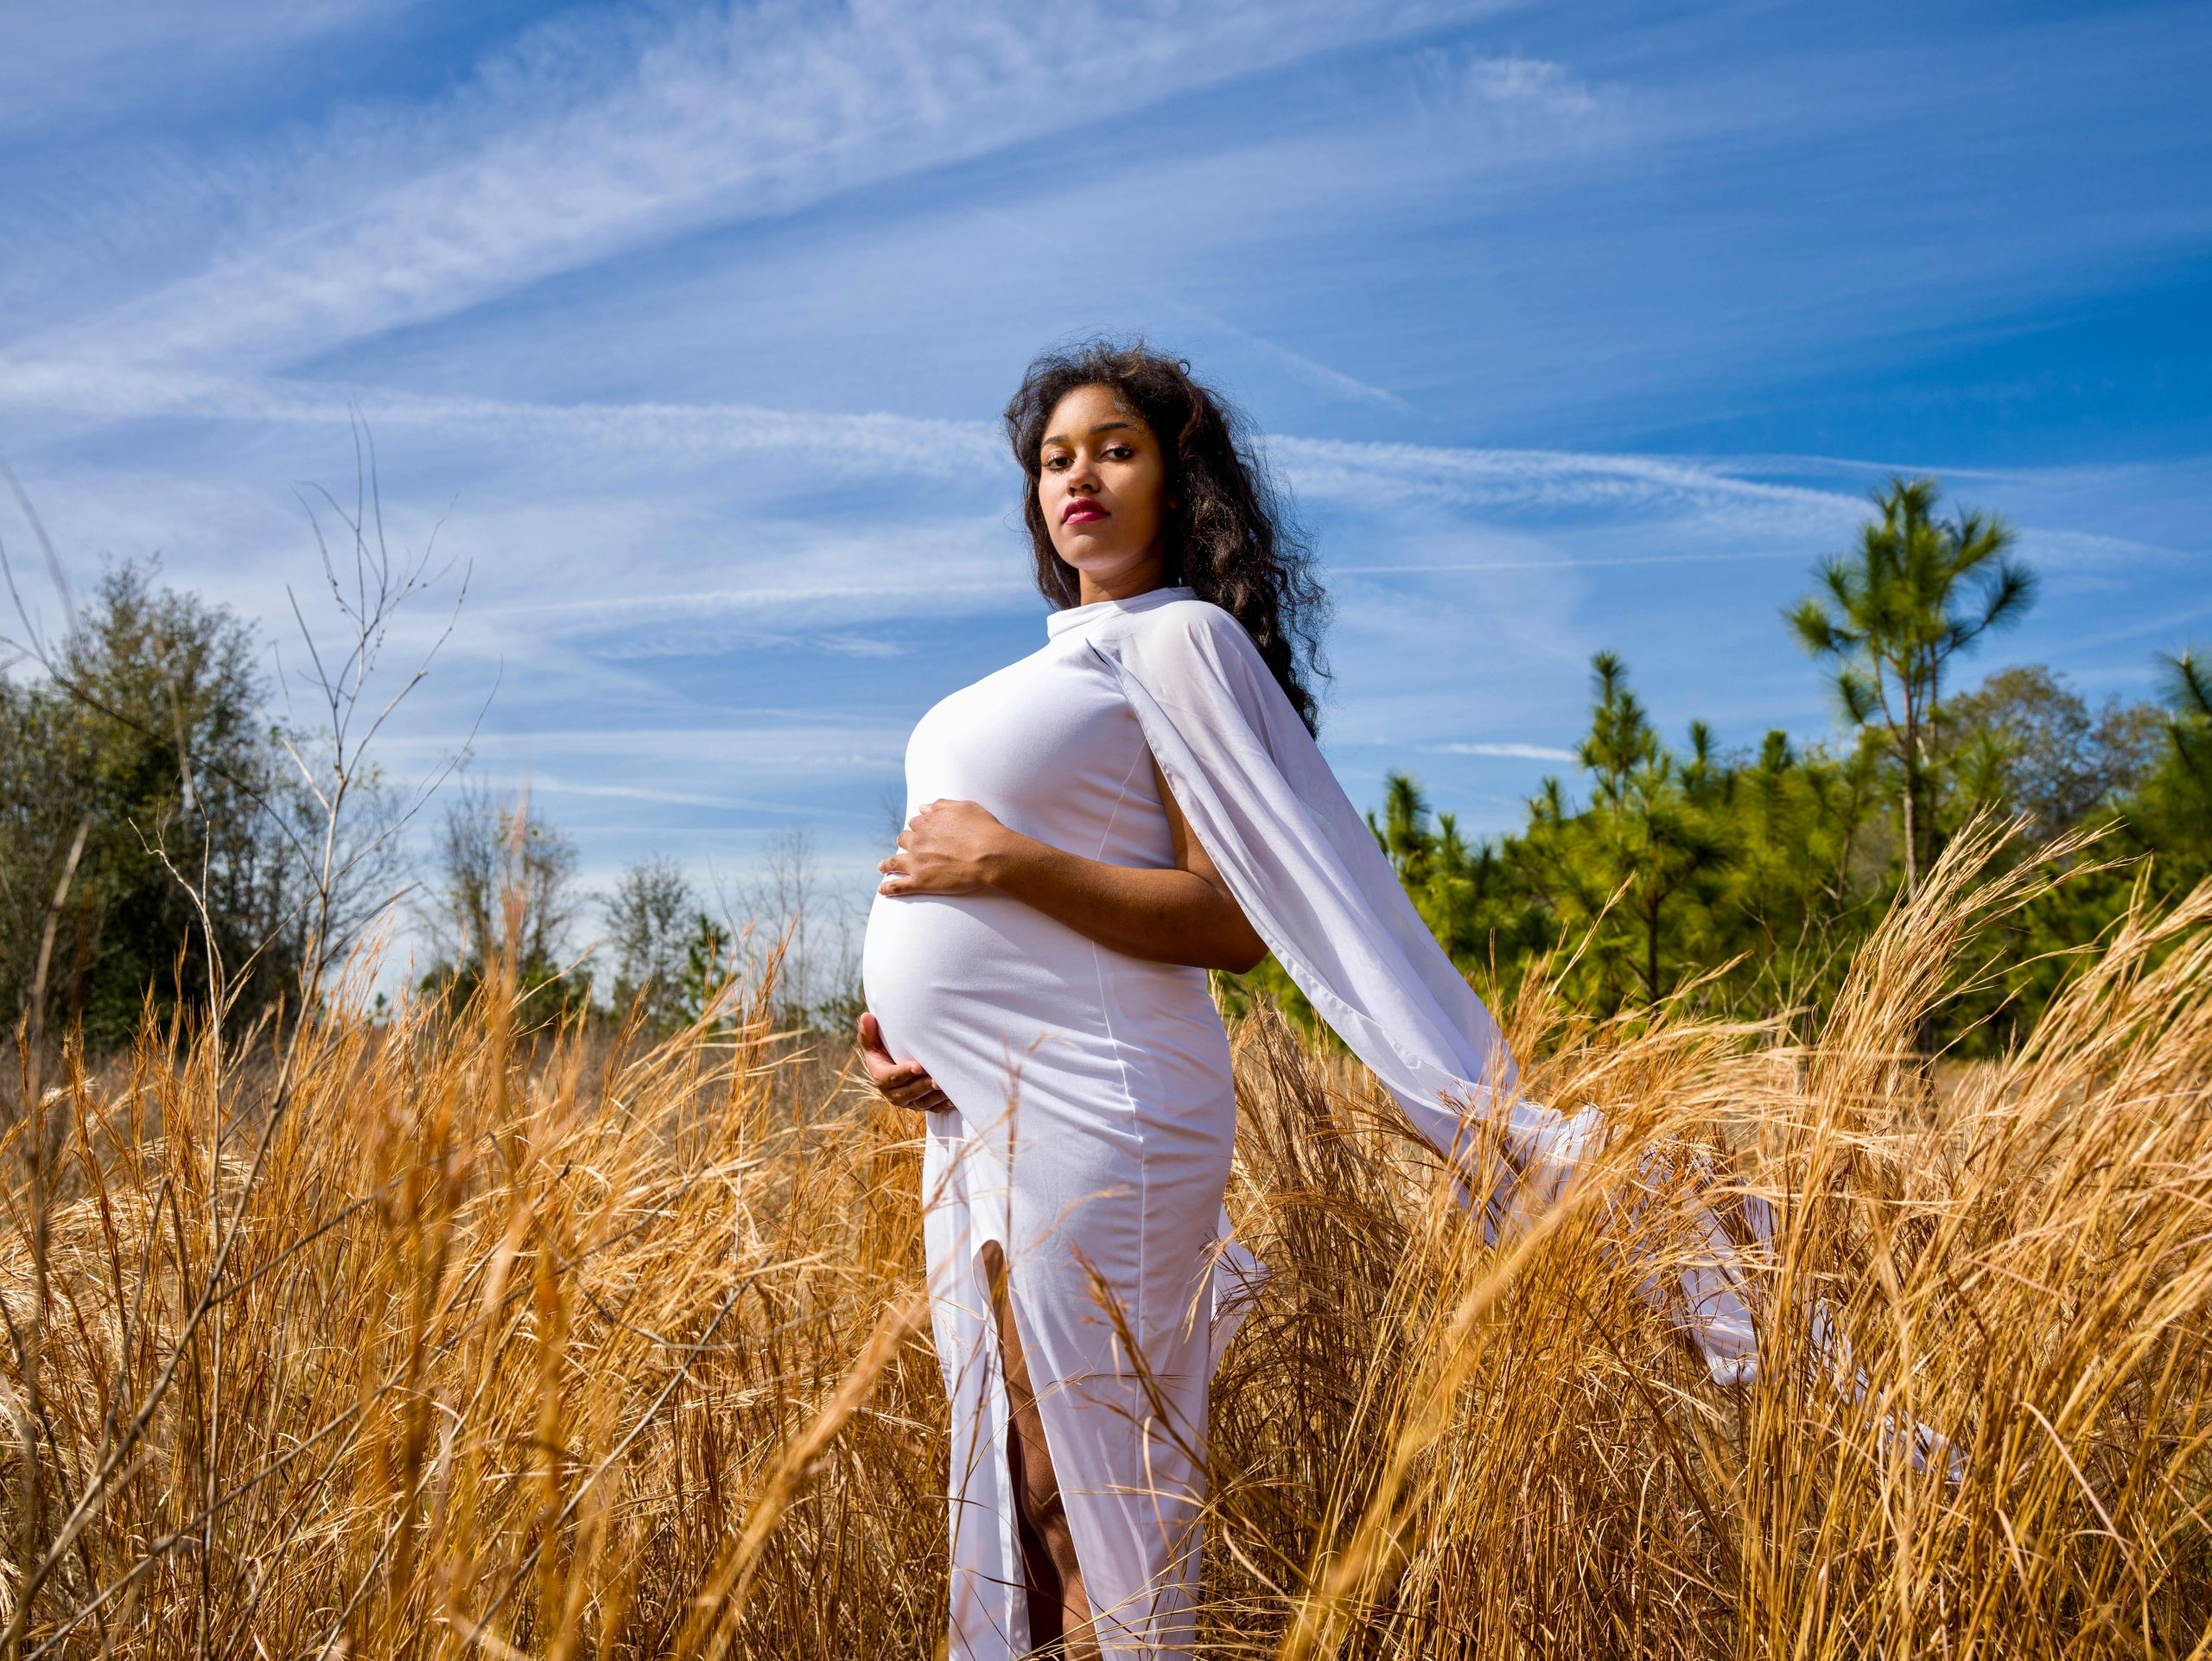
Time sure flies during pregnancy. Before you know it, the news is out, the bump is forming, and you’re enjoying the little kicks. Maternity photos allow you to cherish this moment forever, and trust me, you will be so happy you invested.
When Should You Schedule Maternity Photos?
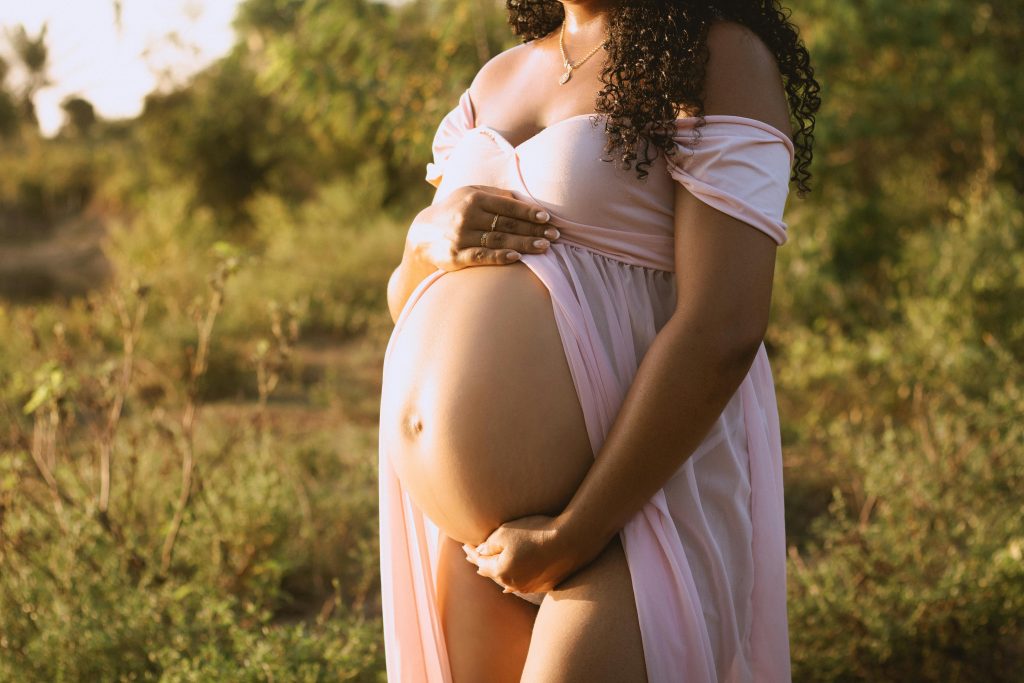
Plan to take maternity photos when you’re between 30 and 36 weeks. Around then, your baby bump will be fully formed. That’s also the ideal time frame because you’re less likely to be symptomatic.
If you push your maternity photo session past 36 weeks, you risk feeling more tired and swollen. The little thing growing inside of you may not even wait to be on time. So it’s a good idea to plan your session.
If you’re pregnant with multiples, plan to take the photos even sooner, 28-32 weeks, because they’ve been known to come even sooner.
Here’s a simple breakdown to help you plan:
- Single baby: 30 to 36 weeks works great
- Twins or multiples: 28 to 32 weeks is a safer bet
- High-risk pregnancy: talk to your doctor first, then book early
Plan Ahead and Book Early
Reach out to your photographer during your second trimester. Spring and fall sessions fill up fast. Popular dates go weeks in advance. Locking in your spot early saves you stress later on.
Also, decide on your setting early. Outdoor maternity photos in a park or flower field can feel fresh and bright. Indoor maternity photos can feel calm and close. Both can be beautiful. Choose the one that feels most like you. And if golden autumn light or spring blooms make you smile, plan your session around that season.
Maternity Outfit Ideas for Your Photoshoot
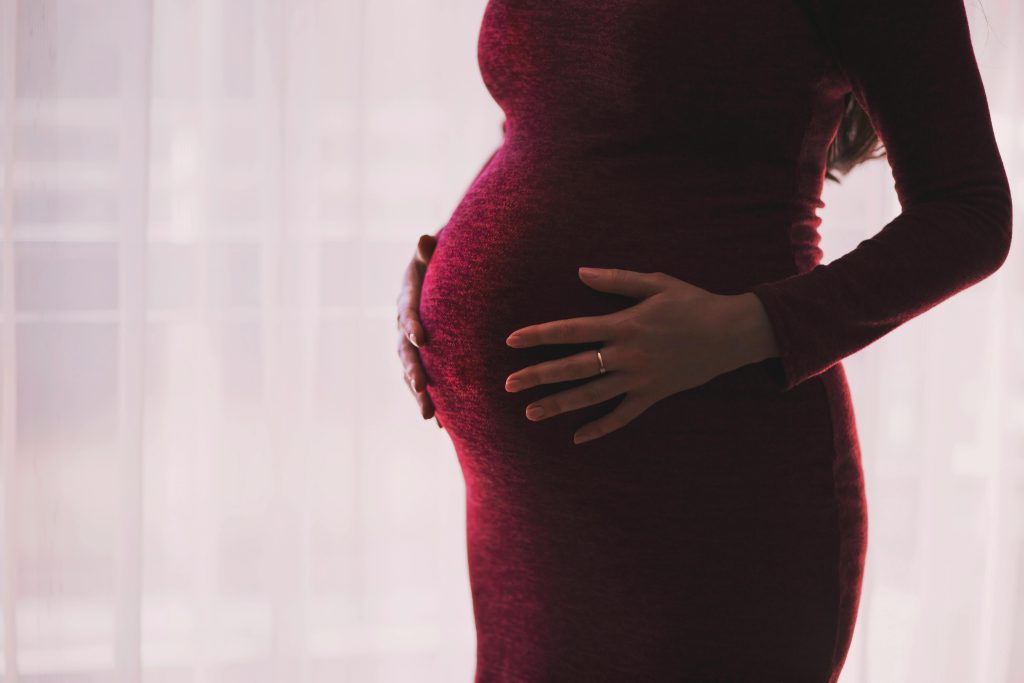
Your outfit sets the tone for the whole session. The right pregnancy photo outfit can help you feel confident. It can also help you feel comfortable. And when you feel both, it shows in every single photo.
Some great options to try:
- Flowing maxi dresses in soft, solid colors
- A form-fitting gown that shows off your bump
- A fitted top paired with maternity jeans for a casual feel
- Lace or chiffon dresses for a soft and romantic look
Stay away from busy patterns. Stay away from bold logos. Stay away from loud graphics. They pull focus away from you and your bump. Keep it simple. Simple is often the winner in photos.
Colors That Work Best
When choosing your colors, remember the vibe the color palette will give your images. Tones like blush pink, sage green, and cream look classic and feminine. Colors like rust, olive green, and deep burgundy look beautiful outside. For indoor settings, go with jewel shades like navy or emerald to add warmth and depth.
Try to match your colors to your location. A cream dress in a wildflower field looks dreamy. A rich burgundy gown in a cozy studio setting feels warm and elegant.
Best Fabrics for a Pregnancy Photo Session
Chiffon and crepe drape nicely over your bump. They move well and photograph with ease. Lace brings a romantic touch. Jersey knit keeps things casual and comfortable for at-home sessions.
Stay away from stiff or clingy fabrics. They bunch up in odd spots and don’t photograph well.
Bring a Backup Outfit
Be sure to bring at least one extra outfit to your photoshoot to give yourself options for the final gallery edit. This also lets you change your mind on the day of the shoot if one outfit doesn’t feel right. In couples or family maternity sessions, partners can wear solid-color outfits that complement the maternity outfit.
Maternity photoshoots are keepsakes. Plan for the shoot with outfits that represent you, and take time to appreciate the experience.
Rain Plan for Wedding Photos: Locations, Gear, and Timing
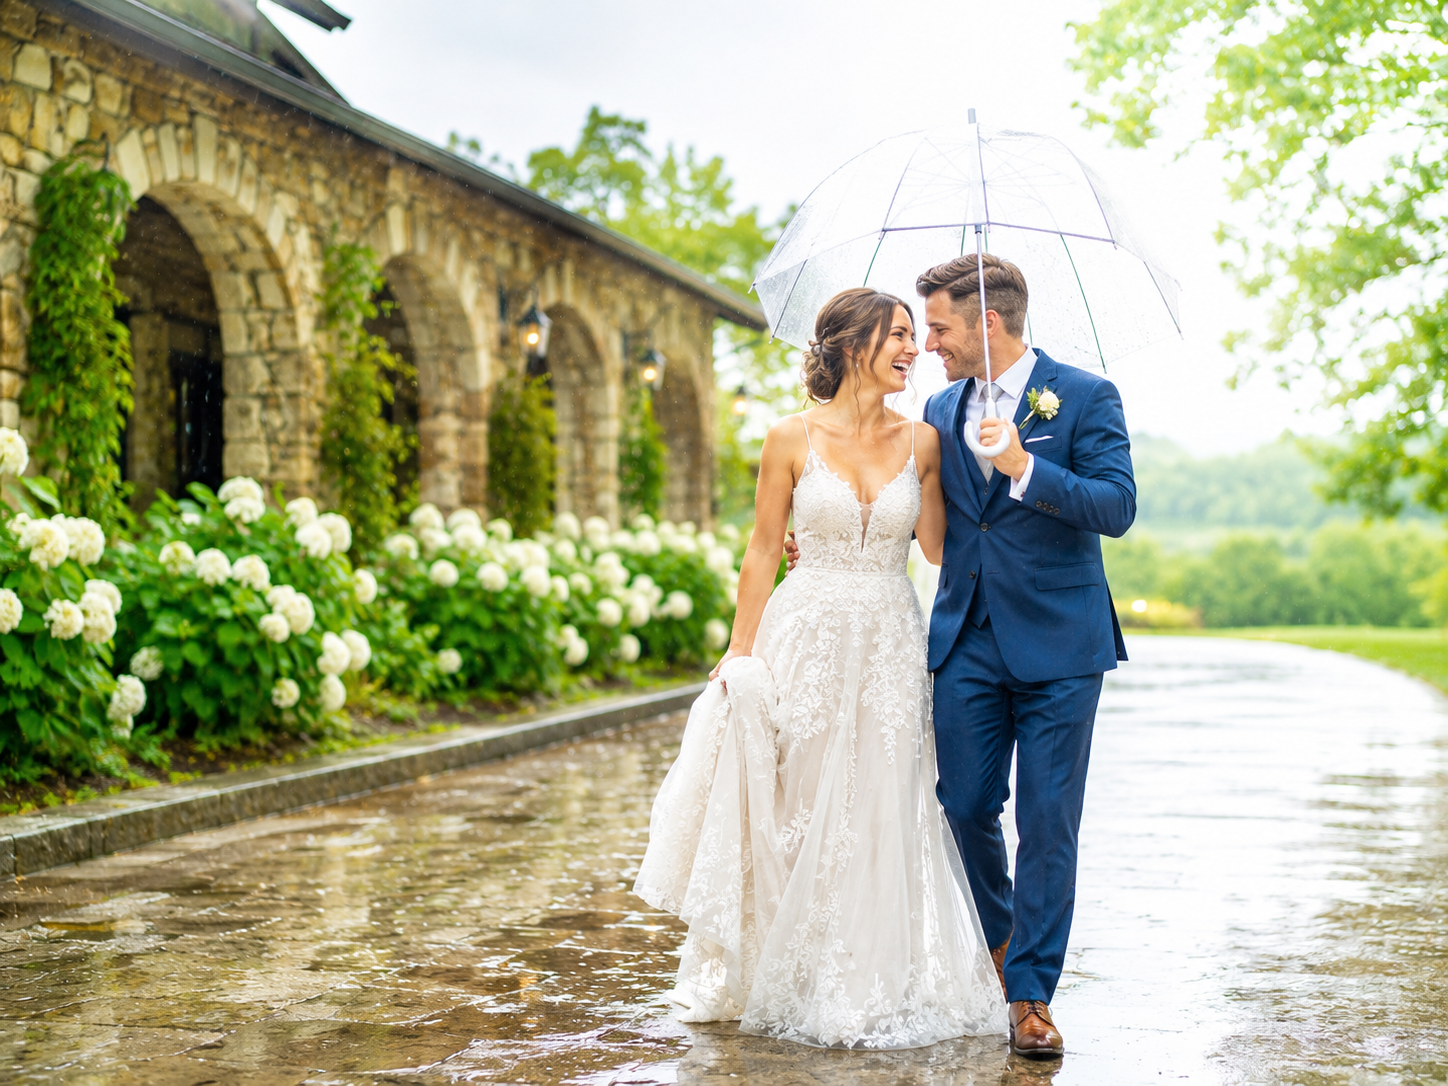
Rain on a wedding day. Nobody plans for it. But it happens. And if you shoot weddings long enough, you’ll face it at least once. The couples who walk away with stunning rainy wedding photos aren’t the ones with clear skies. They’re the ones whose photographer showed up with a solid plan.
Let’s talk about that plan.
Stop Stressing About the Weather Too Early
Weather apps lie—a lot. A forecast for rain ten days out means almost nothing. Hold off on panicking until about forty-eight hours before the wedding. That’s when the forecast gets real. If you email your couple every time it might rain a week out, you’ll stress them out for no reason.
Check the forecast on the morning of the wedding. Then act on what you see.
Talk to Your Couple Before the Big Day
Have an upfront discussion with your couple in advance if you think there’s a chance of rain on the wedding day. Offer them a few options so they can decide what best fits their big day.
1. Don’t go outside and stay completely indoors.
2. Opt for rain-soaked, dramatic wedding portraits outside.
3. Compromise with some outdoor portraits and use clear umbrella covers.
Each couple differs. You may have some brides that absolutely do not want anything to splash on their bridal dresses, versus those that you can absolutely convince to run through a big puddle. Understand your couple so that there are no surprises if the forecast changes.
Scout Your Backup Locations Early
Before the wedding, look for spots that offer natural light without full rain exposure. Covered porches work great. So do barn entrances, large arched doorways, and spots under dense trees. Place your couple right at the edge of the cover, and they stay mostly dry. Natural light still hits their faces well.
If you’re planning a wedding at a venue you haven’t physically visited, do some online research about it. Look up other weddings held there to see the venue in person. You can also look at the venue in coverage on Google Street View. Also, the more you prepare, the easier it will be to relax when the clouds arrive.
Gear You Need for Wet Weather Wedding Photography
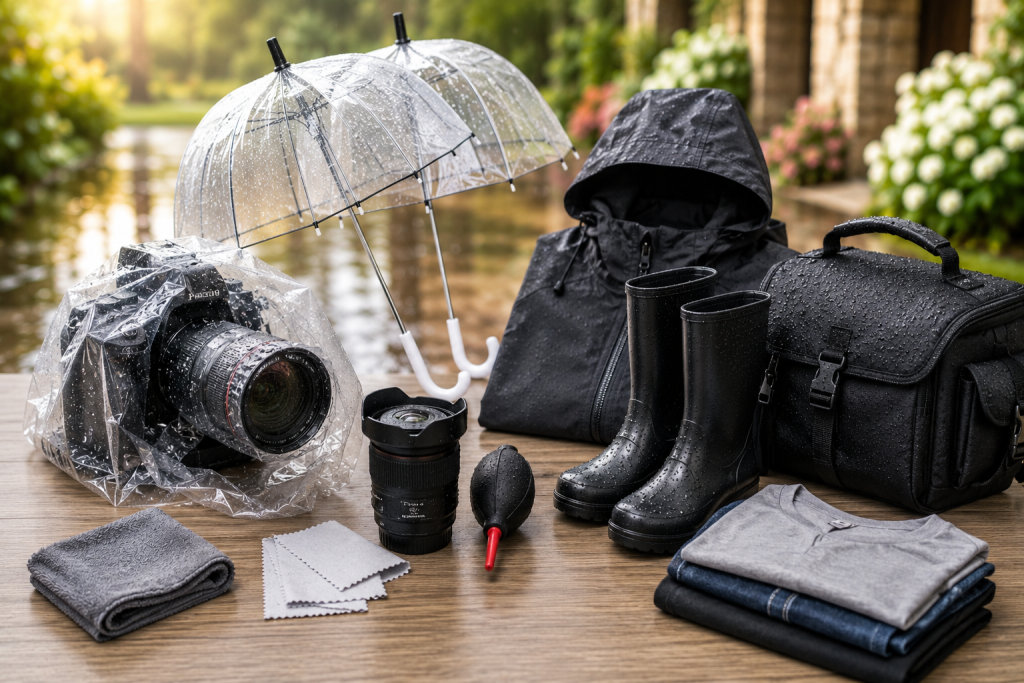
You don’t need a ton of extra stuff. A few key items go a long way:
- Rain covers for your camera and lenses. They’re basically tiny raincoats for your gear. They hold up even in a heavy downpour. No more panic when the rain starts.
- Clear umbrellas. Keep at least two in your car. They look great in photos and still let natural light through.
- Lens clothes. Water drops on your glass ruin shots fast. Wipe your lenses down often.
- A solid rain jacket and waterproof boots for yourself. You can’t shoot well if you’re cold and soaked through.
- A spare set of dry clothes. After hours in wet weather, a dry outfit keeps you sharp through the reception.
A waterproof camera bag is also worth having. You can set it down anywhere without worry.
Use the Rain in Your Photos
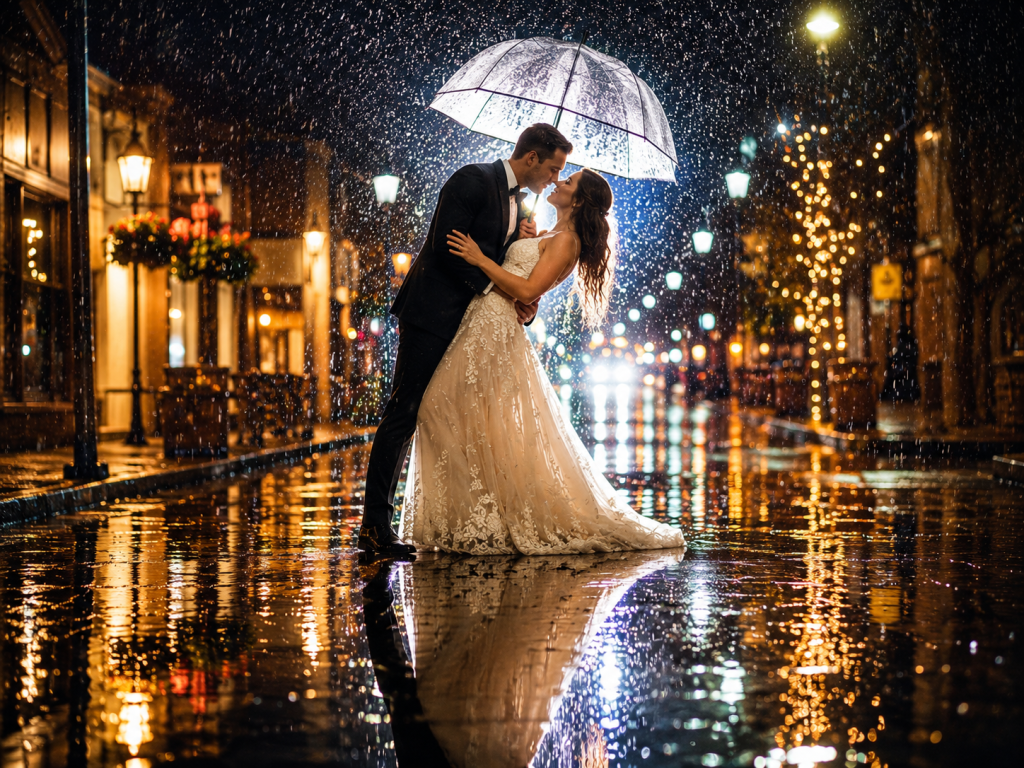
Rain looks stunning when you use it on purpose. Try backlighting the raindrops with an off-camera flash. The drops glow, and the shot looks like something from a movie. Look for puddle reflections too. Wet pavement can reflect the couple like a mirror.
Play with a slower shutter speed to streak the rain across the frame. Clear umbrellas work great as props as well. A couple walking under an umbrella in the rain tells a real story. Those images stick with people long after the wedding is over.
Watch the Sky and Be Ready to Move
Rain in many places comes and goes quickly. Watch the sky closely. Keep an eye out for any break in the clouds. If you spot one, move fast and get your couple outside. Even ten minutes of dry air can give you exactly what you need for great portraits. Keep the timeline loose so you can adjust portrait time as the weather changes.
Your attitude sets the tone for the whole day. Stay calm, and your couple will follow your lead. Rain becomes part of the adventure. Some of the best wedding photos ever came from days when the weather was totally awful.
Embrace it. Shoot it. Tell the story.
Sibling Photos: Poses and Prompts That Capture Real Connection

Good luck trying to get siblings to sit still for pictures. Luckily, you don’t have to! The most charming sibling photos capture the chaos and laughter in between all your attempts to get them to look at the camera. That’s when the magic happens.
Why Posed Shots Often Miss the Point

When people think of classic sibling pictures, most will think of side-by-side shots of the kids staring into the camera, showing off cheesy, forced smiles. These boring pictures will quickly disappear from your memory. What lingers is the candor of the kids. Small moments like a big brother leaning in to sneak a kiss on his baby sister or a pair of siblings laughing and goofing off show that the pictures tell a story.
Simple Poses That Don’t Feel Like Poses
The best sibling poses feel natural. They feel like something the kids would do on a random Tuesday afternoon. Here are some sibling photo ideas to try:
- Lie side by side on a blanket or bed. Let them look at each other, not the camera.
- Ask the older one to hold the baby. Even a loose, careful cradle creates a sweet frame.
- Forehead kiss. Ask the older sibling to lean in close. The baby doesn’t need to do a thing.
- Hands only. A tiny baby’s hand wrapped around a big brother or sister’s finger says everything.
- Back to back. Great for older kids. It lets each kid show their own style without being forced close.
These sibling portrait poses work across all ages. And they never feel forced when you explain the “why” to the kids first.
Prompts That Pull Out Real Emotion
Prompts are your secret tool in sibling photography. Instead of saying “smile,” give the kids something fun to do. That one shift changes everything for natural sibling portraits.
Try these family photography prompts:
- “Whisper your favorite thing about your sibling into their ear.”
- “Who can make the silliest face first?”
- “Show me how you hug your brother or sister.”
- “Tell them a secret. A really, really weird one.”
- “Race to see who can sit criss-cross the fastest.”
These prompts spark real reactions. You get genuine laughs, awkward pauses, surprise looks. All gold for candid sibling photos.
Newborn and Toddler Combos: The Tricky Ones

This is the most difficult combination to work with on any photoshoot. Toddlers are still learning how to interact, and a newborn is most likely sleeping. That is more than one type of chaos.
There are a few things that help here. Start by securely wrapping the sleeping baby. Babies who are securely wrapped and held are safe and calm. Next, bring the toddler close to the baby with no pressure. Bringing the toddler close to the baby can be done by allowing the toddler to kiss the baby’s head or by letting the toddler sit nearby. It is not crucial to encourage the toddler to hold the baby. Getting both kids into the frame is enough. Often, two tiny pairs of feet side by side tell the story completely.
Real Beats Pretty Every Time

No matter where you get your sibling photoshoot tips, they all tell you to prioritize connection and not cuteness. The picture-perfect moment where everyone is smiling is not the goal. A shared laugh mid-tickle fight holds more meaning than countless stiff family photo poses. An elder sibling’s hand resting on their younger sibling’s back. Those are the moments you’ll print and frame.
You can always schedule the poses and plan the shoot. But don’t forget to leave space to capture the real stuff. Most importantly, it always shows up.
How to Get Great Photos in Crowded Places

You don’t need an empty street for a great shot. Crowded tourist spots can actually produce some of the best travel photos around. You just need a few tricks up your sleeve.
Last year, I spent over five months traveling across Europe with my kids. Fifteen countries. Mostly alone. Almost every famous spot we visited was packed with tourists. But I still came home with hundreds of photos I love. Here’s what worked for me.
Go at the Right Time
Being able to consider timing is a valuable skill. Also, the early mornings and late evenings generally have the smallest crowds. But don’t go too early! The local markets in Morocco don’t open until around 10 AM, so if you’re there at 9 AM, you’ll find shops closed. Try to be there first so you can beat the crowds.
At the Vatican, we arrived right before the barriers opened. This gave us the advantage of getting the first, and what we thought would be the only, clean and calm shots. Ten minutes after our shots, the crowds showed up and were everywhere. Ten minutes is actually a sizable chunk of time.
Zoom In on the Details
Skip the wide shot if the crowd ruins it. Zoom in instead. Look for small things: carved stone, colorful tiles, a neat window. These close-up shots tell their own story. If you don’t have a zoom lens, walk closer.
Change Your Angle

This is the easiest trick out there. Most people shoot from eye level. Try shooting from the ground and point your camera up. The crowd disappears. You get sky, architecture, and a much cleaner background. Up and down change everything.
Switch Your Subject
Don’t force a shot that’s not working. Photograph the ceiling. Shoot the food on your plate. Capture a colorful door or a fun window display. Your travel photos don’t have to include people at all. Some of the best shots are just about the place itself.
Use the Crowd on Purpose

Sometimes the crowd is the shot. A busy market or a packed square tells its own story. Look at the colors, the lines, the movement. Pay attention to how people interact with each other. Those little real-life moments can make your photos feel alive.
Make Your Subject Bigger
Move closer to your main subject. Keep the crowd far behind. The bigger your subject looks compared to the background, the less the crowd pulls the eye away. Simple, but it works every time.
Play With Light
Our eyes go straight to the brightest part of a photo. Put your subject in the light and let the crowd sit in the shadows. High-contrast shots draw attention away from busy backgrounds. The crowd becomes less of a problem when your subject glows.
Blur the Foreground
Set your focus close and let the background go soft. A person standing near your lens can become a blurry, soft layer in front of your shot. It adds depth. It also blocks some of the chaos behind your subject. Pretty neat trick, honestly.
Wait for the Gap
Waiting might seem boring, but this advice is tried and true. Stand still and wait for gaps in the crowds for a few minutes. You might be surprised how many gaps show up in the crowds. Take advantage of the opportunities when they come.
Move to a New Spot
Some of the best spots for photos come from going a little off the beaten path. Explore the side streets. Look for a new view of the landmark. Some of my best shots came from places I stumbled onto by accident. Don’t be scared of taking the less popular route to a great shot.
The crowds shouldn’t ruin your chances of great photos. Use these tips, and you might find that the chaos actually helps.
Questions to Ask a Wedding Photographer Before You Book

You’re planning a wedding, and suddenly you need to choose a photographer. This photo-thing is important. These photos don’t fade away after the party. But in fact, they turn into the story you keep retelling.
You don’t have to know camera details, either. Just ask smart questions before you book anyone. Each photographer has a different personality, style, and approach. Finding the right match for your questions will help you have an easy, breezy wedding day.
Start With Honesty: Tell Them What You Need
What to share upfront
If you have camera shyness, don’t hide it! Let them know if you freeze up in photos or feel awkward with PDA. Some people hate posing, while others love direction. For this reason, your photographer needs to know which camp you belong to.
Share if you want a quiet shadow following you around or a fun and chatty guide who pumps up the energy. Both styles work well, but only if they match your requirements!
Your priorities
You also need to show them your “must-have” list. It could be the photo with Grandma or the moment your best friend gives their toast. You can also point out any special traditions that are very important to your family.
Let them know which parts of the day are the most exciting for you—hanging out with friends while you get ready? The first look with your partner? Dancing? These things give them hints about where the most important areas of your day will be.
Experience Questions: How They Work With Couples

Communication and planning
You can be direct and ask, “How much talking will we do before the wedding?” Some photographers check in each month, while others have one planning call and then provide minimal updates.
You can also ask if they give planning tools. “Do you have questionnaires I need to fill out, timeline templates, prep guides, etc.?” These can save you late-night scrolling stress and give your brain clear steps to follow.
You can also ask, “What’s the best way to reach you with questions?” Some people reply to texts fast, others only answer emails, and some do dry call scheduling, and that’s how they communicate.
Their prep process
Good photographers don’t just show up to an event or take pictures on a whim. A good question to ask at this step is: “How do you prep for a wedding day?” The answer can tell you a lot. It reveals whether the photographer will conduct preemptive scouting and planning and set a backup plan. More often than not, photographers arrive at the event and take their chances.
Find out what they need from you. Clear expectations on both sides mean fewer surprises later.
Their style and approach
Ask them to describe their working style. Do they step in and direct shots? Or hang back and catch candid moments? Or perhaps, mix both approaches?
There is no right or wrong answer. This is done solely to gauge your comfort level.
Familiarity with your type of wedding
Has this individual been photographed at your location before? Collaborated with your cultural customs? Captured a wedding like yours?
Always request a complete gallery from an identical wedding. Nice portfolio photos are good, but seeing how they manage a full day tells the real story.
Behind-the-Scenes + Backup Plans

Scouting and problem-solving
Good photographers often scout locations before the big day. You can also ask if they visit in person or research online.
Then test their problem-solving skills: “How do you handle bad lighting?” or “What happens if the schedule runs late?” Their answers show how they handle stress.
Backup equipment
This one is very important! Ask: “Do you bring backup cameras, lenses, and memory cards?” Also, ask what their backup plan is if their equipment fails on the wedding day.
Contract essentials
Don’t book without a contract. That paper protects both sides.
Make sure contracts include the following elements: hours listed, what you receive, when you receive it, and how you can use the photos. If you choose not to follow this step, you might end up sad later.
What to Wear for Family Photos (Colors, Patterns, and Examples)

Just imagine an hour before your family photos. Everyone’s rushing around. Children are cranky, nothing matches, and everything looks disorganized. I am sure you were there.
Family photo outfits shouldn’t cause panic attacks! Let’s fix that messy situation with some easy tips about colors, patterns, and what actually works in front of the camera.
Start With Coordinating Colors
Gone are the days of identical white shirts and jeans. And that is good news because these look a bit bland.
Instead, select a palette with 3-4 shades that complement each other. It doesn’t have to be matching. You can mix light, medium, and deep tones. That blend keeps the photo from feeling flat. You can try different colors, such as navy blue, blush pink, and cream. Or perhaps forest green, mustard, and gray.
Pro tip: Look at your living room walls and decor for inspiration! This way, your photos will match your home when they’re hanging on the wall. And not everyone needs to wear every color – just spread them throughout the group.
Choose Clothes That Fit Well and Feel Good
When you feel good in your clothes, it shows on camera! Focus on pieces that fit your body type nicely. For adults, structured tops with clean lines tend to photograph better than baggy ones.
Men often appear more polished in pants than in shorts. Ladies, a flowy dress or skirt can create pretty movement in photos. For everyone, wear shoes you can walk in comfortably, because nothing ruins a smile faster than painful feet!
Patterns and Prints

Patterns bring life and quickly grab attention. So keep one pattern in the group. Everyone else wears solids.
Mom can wear a floral dress. Then, dad and the kids wear solid colors from the same palette. Also, avoid prints that look busy; ultimately, the faces should do the talking.
Add Texture and Accessories for Depth
Textures can help without shouting. Try knits, denim, and linen. Add a cardigan for layers and shape.
Accessories can help, too, but you need to go small on that. A necklace, bracelet, watch, or scarf can add a nice finish, but keep it quiet so faces stay front and center.
Avoid Neon and Harsh Bright Colors
Bright colors can throw weird light on skin. And this is one thing that can ruin a photo session. For example, hot pink can look sweet in the mirror, but in photos it can tint faces.
You can also quickly check the lighting. Hold the shirt under your chin in good light. If your skin picks up that color, choose a softer option. Safe choices include pastels, jewel tones, navy, cream, and white.
Dress Kids for Comfort First

Kids who feel itchy or trapped won’t smile for long. Try to avoid rough fabrics, stiff shoes, and, most importantly, tight collars.
Dress them in layers for the weather. That way, they stay comfortable. And comfy kids usually mean better photos.
Classic Styles Age Better
I am sure you have seen the old photos. For example, Giant shoulder pads and hair sprayed into the sky. It looks funny now, but it was not so funny then.
Stick to classic styles that won’t scream a year. Simple shapes work well. Let your family be the focus and not the trend of the month.
What to Do With Your Hands in Photos (Without Feeling Awkward)

“What do I do with my hands?!” This panicky question pops up at almost every photo session, and this is totally normal. Your hands move freely all day long, but the second a camera appears, they turn into awkward strangers attached to your arms. Suddenly, these helpful body parts freeze up or look stiff in photos. But don’t worry! Let’s address this with easy, repeatable poses that work for both headshots and full-body photos.
The One Rule That Makes Every Hand Pose Look Natural
Keep your hands relaxed! This may sound simple, but it makes a significant difference. Here, you should not clench your fists nor do stiff “claw” fingers. Try to touch things lightly instead of gripping them hard. You need to keep your hands warm so they don’t freeze. When your hands have a specific task, they stop feeling awkward and start looking natural in photos.
Basic, Simple Hand Positions (Standing + Headshots)

Face/Chin options:
- Rest the side of your chin lightly on a gently closed hand
- Angle your fingers under your chin for a thoughtful look
- Open your hand alongside your face for a softer vibe
Cross-body comfort:
- Put one arm across your body as a base
- Rest the elbow of your other arm on this hand below
- Your top hand can stay open or lightly touch your cheek
Hips and sides:
- Place one hand on one hip for a confident pose
- Try both hands on your hips for a power stance
- Let both arms hang down by your sides with a soft bend in the elbows
As you can see above, it is so easy. Just simple positions that look good on everyone!
Seated Hand Positions That Always Work
Sitting provides additional hand placement options. Cross your legs and rest both forearms on your top knee. Or fold your hands together and place them beside your thigh.
If you need a cleaner look, try resting your hands on your knees. Many guys look great with their hands folded between their legs for a casual, grounded feel.
Just remember to keep those shoulders relaxed! Lean slightly forward to appear engaged, or lean back slightly to appear more casual and relaxed. Both of them work great. It all depends on the mood you want.
More Dynamic Hand Positions (Movement Without Chaos)
Hair and head movement:
- Tuck hair behind your ear (looks natural and candid)
- Touch the top of your head briefly
- Place a hand behind your neck under your hair
- Pretend to fix your hair, but keep your face calm
Using both hands:
- Put one hand flat on your back
- Reach around with your other hand to connect to it
- Cross your ankles or legs to support these shapes naturally
These more active poses create interest without looking forced or staged.
Options That Work Great for Men Too
Guys often struggle even more with hand placement! Try these fail-proof options:
- One hand in your pocket and the other relaxed at your side
- Both hands in pockets (looks extra good with a blazer)
- Roll up your sleeves for a natural action shot
- Adjust your lapel or button your jacket for that “caught in motion” feel
- Cross your arms across your chest – but keep your hands open and expression friendly
How to Plan a Destination Elopement Shoot With Ease

So you’re planning to say “I do” outdoors, far from home. That’s a bold and lovely move. Destination elopements mix adventure, romance, and stunning backdrops without the stress of a big wedding. Here’s how you can plan it all, from choosing the location to getting photos that tell the whole story.
Start With The Big Picture
First, you need to decide what “feel” you want. Do you prefer total privacy with just the two of you, or would you like a few loved ones nearby? The answer changes everything else.
You also need to pick your season before your exact location. Choosing summer, winter, fall, or another season can significantly impact your wedding’s overall theme.
Next, you will need to rough out your timeline. Sunrise ceremonies offer magical light and privacy. Sunset gives a golden hour glow. Midday works too, but brings stronger sun.
Choose Your Ceremony Spot

Pick a spot that matches how you like to move. If you don’t hike much, skip the long trail. Choose an easy viewpoint instead. But if you love a bit of adventure, head up to a mountain top. Make it a full day and enjoy the ride.
Ceremony spots come in many styles. You can choose forest trails, beach overlooks, alpine lakes, cozy cabins, A-frame rentals, or boutique hotels. Each place changes the mood of your photos. Like choosing a playlist. Same song, different vibe.
If you want an actual venue, book early. These places fill up fast, even for small events. Also, plan for bad weather. A cabin porch can save the day if rain shows up.
Permits And Park Rules
This step can trip up so many couples! National parks, state parks, and public lands often need special permits for ceremonies. And yes, even just for photos in some places.
These permits can limit many aspects: how many guests you can bring, which decorations are allowed, whether music is permitted, and even where you can stand. Some areas also only issue permits on certain days.
Don’t lock in plans until you know what’s allowed. The worst outcome could be a ranger asking you to leave on your wedding day for skipping the permit process.
Build A Simple “Wedding Week” Experience
Your elopement should deserve more than a quick “get in, get married, leave” approach. So true to create a mini vacation around your vows!
You can start with activities that match your vibe. You can rent canoes on a lake, or even book a cabin with morning coffee views, or perhaps take a scenic drive. If your location offers it, take a helicopter ride to a glacier and make it a once-in-a-lifetime moment.
You can also bring guests in for some parts and keep the other parts just for you two. A welcome dinner is an easy win. Then schedule an adventure day later for more private time.
Photography Planning
Your photographer is your sidekick on elopement day. So pick someone you can laugh with. Both of you should go through the plan together and also cover getting ready shots. You can also map out travel time and set the ceremony timing. Then add portrait time and a few calm moments to breathe.
Tell them what you want most. It could be candid laughs or perhaps big views. Or perhaps you might want to go for small details like rings and hands. When they know your must-haves, they can pack the right gear and guide you in a way that feels natural.
Guests, Invitations, And Communication
You need to confirm your guest count early, as permits and lodging depend on it. Even six people can change what is possible at many outdoor spots.
For tiny guest lists, simple email invites plus a basic wedding website work nicely. You can also add a paper invite if you want a keepsake.
If you’re planning multiple days of activities, you can send a basic schedule so everyone knows what to pack. Also, suggest nearby lodging options if you want everyone to be close.
Food and Drinks So Nobody Gets Hungry
You also need to plan meals to match your day. A sunrise ceremony means breakfast comes early. Evening commitments could mean you need to plan lunch first, or your day will drag.
When hiking, the best practice is to pack snacks and water. Also, go for easy wins like nuts, fruit, and trail mix. A picnic can save the mood, feed you, and give you a neat photo setup, too. If you don’t want to do DIY, local luxury picnic companies can handle the whole thing.
If you have guests, book a dinner spot after the ceremony. Or perhaps even hire a private chef at your rental. Food trucks also work well for small groups, as it feels like a mini party on wheels.
How to Choose a Wedding Photography Style That Fits Your Day

Wedding photography is not the same as it was many years ago. Most of you may have seen the old wedding albums with stiff poses and those tight smiles. Everyone lined up like a school photo. The albums from the 80s and 90s often look similar too. But now there are so many options available. But with so many options, it can be unclear.
What “Wedding Photography Style” Actually Means

Most of the time, when photographers talk about style, they usually mean two things:
Visual editing & aesthetic -how they edit photos and what the overall mood is. This may include brightness and colors.
Stylistic approach: The way they capture photos (Natural moments vs. posed portraits).
Photographers these days rarely stick to one style all day. In fact, they blend styles to fit the scene. A great photographer will catch candid moments during the ceremony, and at the same time, they’ll help you with family portraits.
Visual Editing & Aesthetic

True to Color
This style keeps everything looking natural. Colors stay very close to what your eyes saw that day. Your dress remains the same shade of white you selected, and your skin tone looks healthy and natural.
Good for: Couples who want photos that stay accurate and timeless. You won’t look back later and wonder why everything looks tinted or washed out.
Shines during: Outdoor ceremonies with natural light. This is also great for weddings with a planned color scheme.
Light and Airy
This look feels bright and soft. It also has a gentle glow. Shadows look lighter, so the whole scene feels calm and romantic.
Good for: Couples seeking a sweet, uplifting feel. If your saved photos look bright and soft-focused, this style may suit your taste.
Shines during: Daytime ceremonies. Garden venues and beach weddings also fit this look well.
Dark and Moody
This style uses deep shadows and rich colors. Strong contrast can add drama and emotion. Light and shadow can do much of the storytelling.
Good for: Couples seeking a bold, cinematic feel. Your photos can feel like scenes from a movie.
Shines during evening events. Candlelit receptions and venues with strong architecture also shine here.
Stylistic approach

Traditional (Guided and Posed)
Here, your photographer gives you step-by-step directions. A few examples include: “Hand here.” “Chin up.” “Turn slightly.” “Mom stands next to the bride.” Everyone looks at the camera and smiles.
Good for: Family portraits, wedding party lineups, and couples seeking clear guidance. You get clean and polished photos that look finished.
Trade-off: Less surprise but requires more planning.
Documentary (Candid and Unscripted)
Your photographer blends into the background and captures what’s happening around. They do not pause and do not ask you to repeat it.
Good for: Ceremony emotions, first dance reactions, and couples who do not enjoy posing.
Trade-off: You might not get every classic pose. But you get the small moments that matter.
Editorial (Magazine-Worthy)
Your photographer creates styled and curated images. They pay close attention to details, design elements, and fashion-forward posing. The goal is a bold look that feels deliberate.
Good for: Detail-heavy weddings, fashion-conscious couples, and unique venue features.
Trade-off: It takes more time and also needs more coordination than documentary photos.
How to Choose Your Perfect Mix

Step One: Pick Your Editing Preference
Save about 10-15 wedding photos you absolutely love. Look at them together and ask questions such as: Are they bright or dark? Vibrant or soft? Do they feel warm or cool? These patterns show what attracts your eye.
Step Two: Decide Your Approach Preference
Ask yourself: Do I hate posing for photos? Or do I need guidance to feel comfortable? Your answer helps you choose between documentary and more directed styles.
Also, list your “must-have” moments, such as family formals, candid dancing shots, and detailed close-ups of your handmade centerpieces.
Step Three: Look at Full Galleries
Don’t just check Instagram highlights! Ask to see complete wedding galleries. This demonstrates how a photographer handles a range of lighting conditions, such as dark churches, harsh sunlight, and dimly lit receptions.